

If you’re planning to build an enclosure for subwoofers to provide deep bass, it is important take into consideration a number of aspects like the dimensions and power of the subwoofer, the design and style of enclosure, and also the positioning and the tuning to the setup.
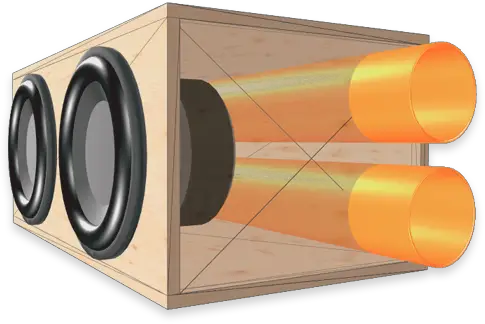
One of the most effective designs of subwoofer boxes to provide high-end bass performance is the portable enclosure that allows air to flow into as well as out of the enclosure through the vent or pipe. This increases the low-frequency performance and effectiveness that the subwoofer produces. But, you must ensure your port’s measured and tuned to the specifications of the subwoofer and the quality of your preferred sound.
To build a portable subwoofer box that can be used for deep bass, you’ll require some tools and materials for example:
- Medium-density fiberboard (MDF) boards
- Jigsaw or circular saw
- Drill
- Screwdriver
- Wood glue
- Fiberglass resin
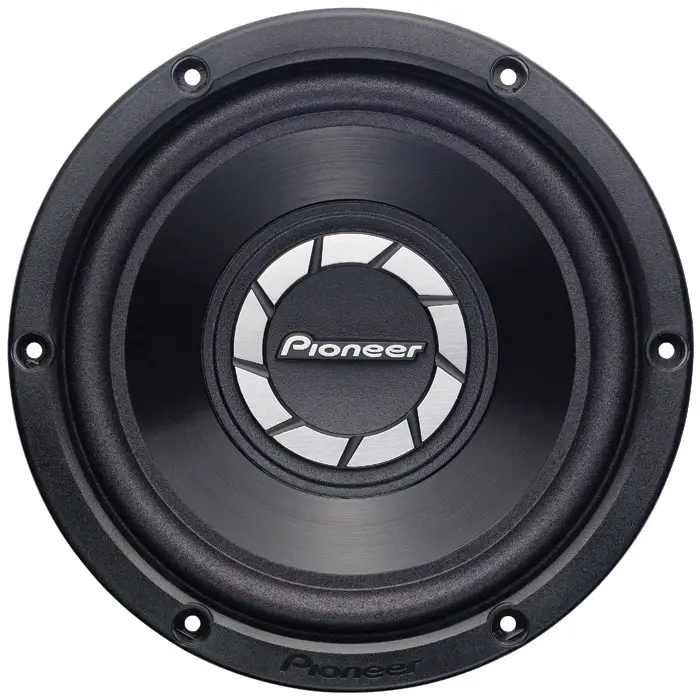
- Subwoofer
- Wire
- Terminals
Step 1: Determine the Subwoofer’s Specifications
Before beginning construction of your box, it is necessary to gather information regarding the subwoofer you will use. Gather information such as its manufacturer, frequency range, and specifications.
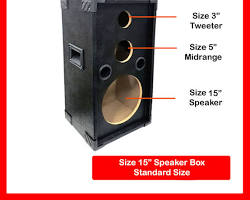
1. Subwoofer size: Subwoofer box sizes will depend upon the diameter of their driver unit.
2. Subwoofer type: Subwoofer types such as ported and sealed require different enclosure requirements.

3. Subwoofer mounting depth: Mounting depth will determine the minimum depth of a subwoofer box.
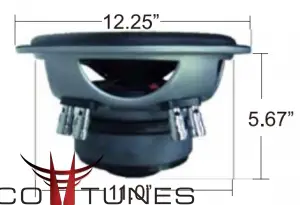
4. Subwoofer power handling: Power handling will assist in selecting an appropriate size box.
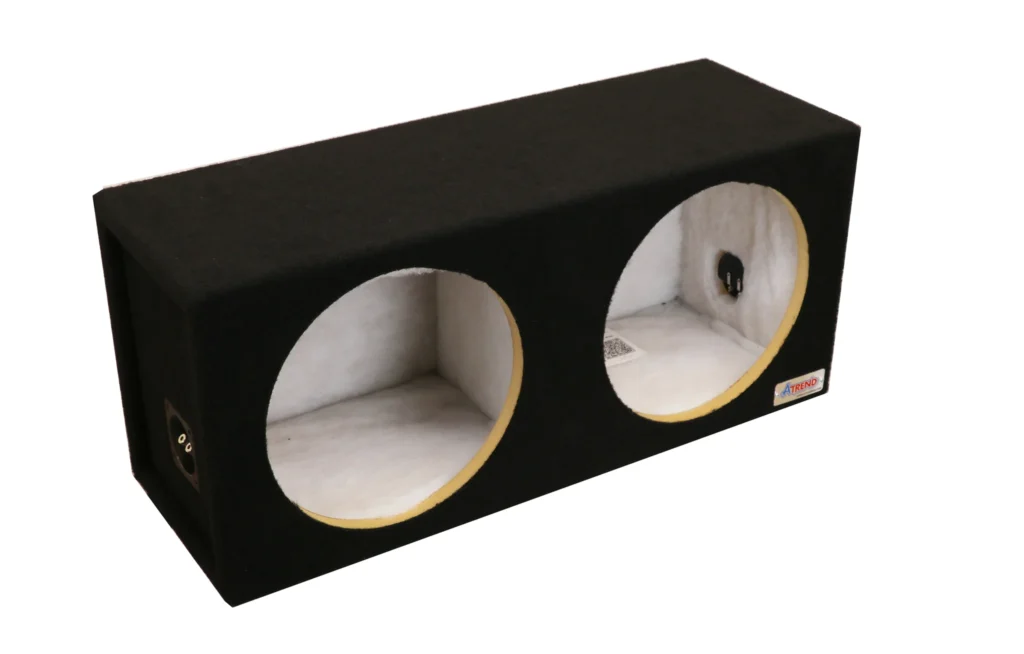
Step 2: Choose the Enclosure Type
There are two primary subwoofer enclosures: sealed and ported. Sealed boxes tend to produce tighter bass tones while larger ported subs can produce deeper, more resonant low frequencies.
1. Sealed boxes: Sealed boxes are the easiest type of enclosure to construct and are an ideal choice for subwoofers designed for tight and punchy bass sound reproduction. Sealed boxes also reduce distortion at higher volumes.
2. Ported boxes: Ported boxes are designed to extend the frequency response of subwoofers, creating deeper bass sounds with increased resonance. However, they can also be more difficult to build and more likely to distort at higher volumes.
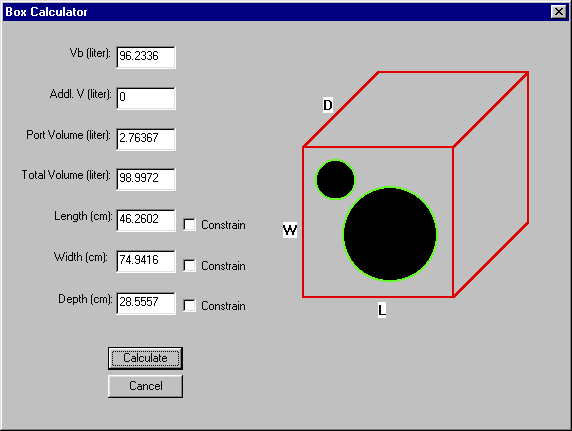
Step 3: Determine Box Volume
Volume is one of the key factors affecting sound quality from subwoofers. You should aim for keeping within its recommended range; to do this you can use an online subwoofer box calculator.
Step 4: Design the Box
Once you know the volume of the subwoofer box, the next step should be designing it to accommodate both its contents and available space. In terms of aesthetics, be mindful that any design changes to it might affect visibility within your vehicle or listening area.
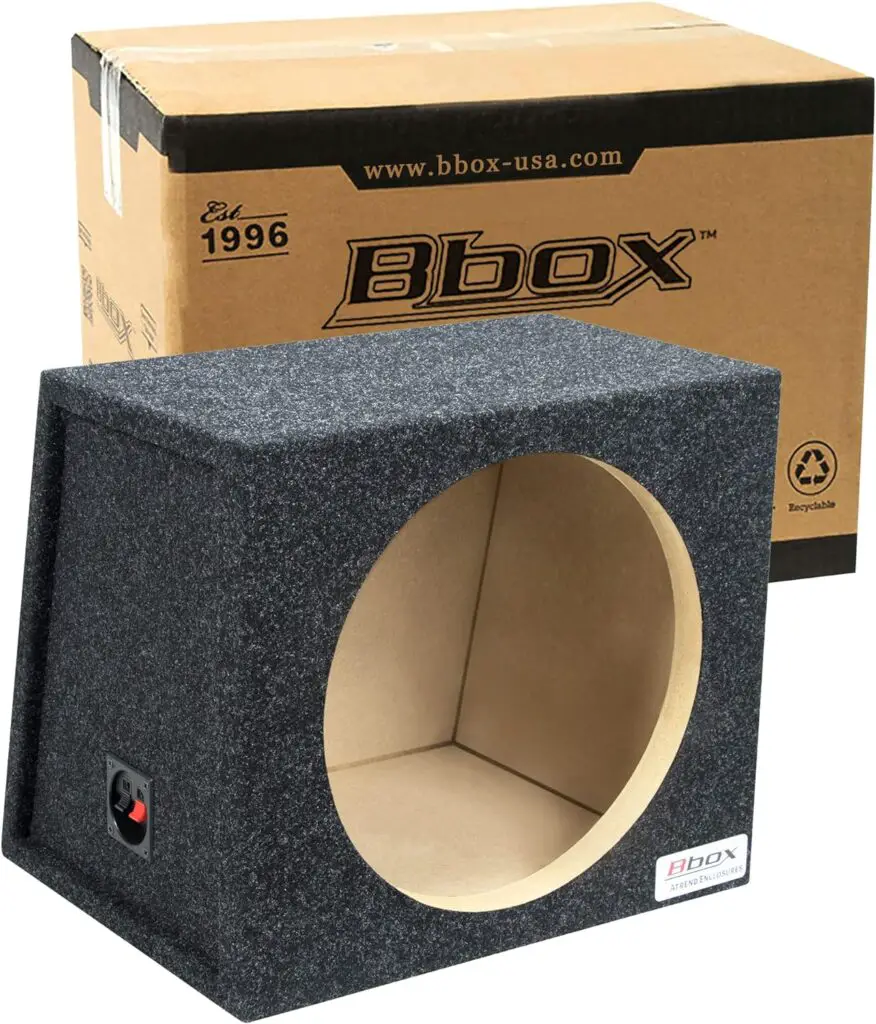
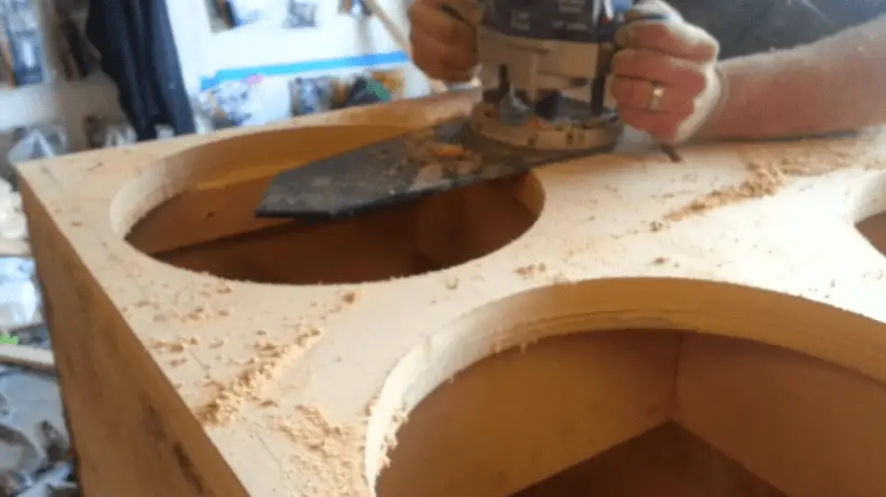
Step 5: Build the Box
Once you have designed a box, the next step should be building it. Use various materials like MDF, plywood or fiberglass when building your enclosure – be sure to round over its edges using a router so as to prevent damage to your subwoofer while simultaneously improving sound quality.
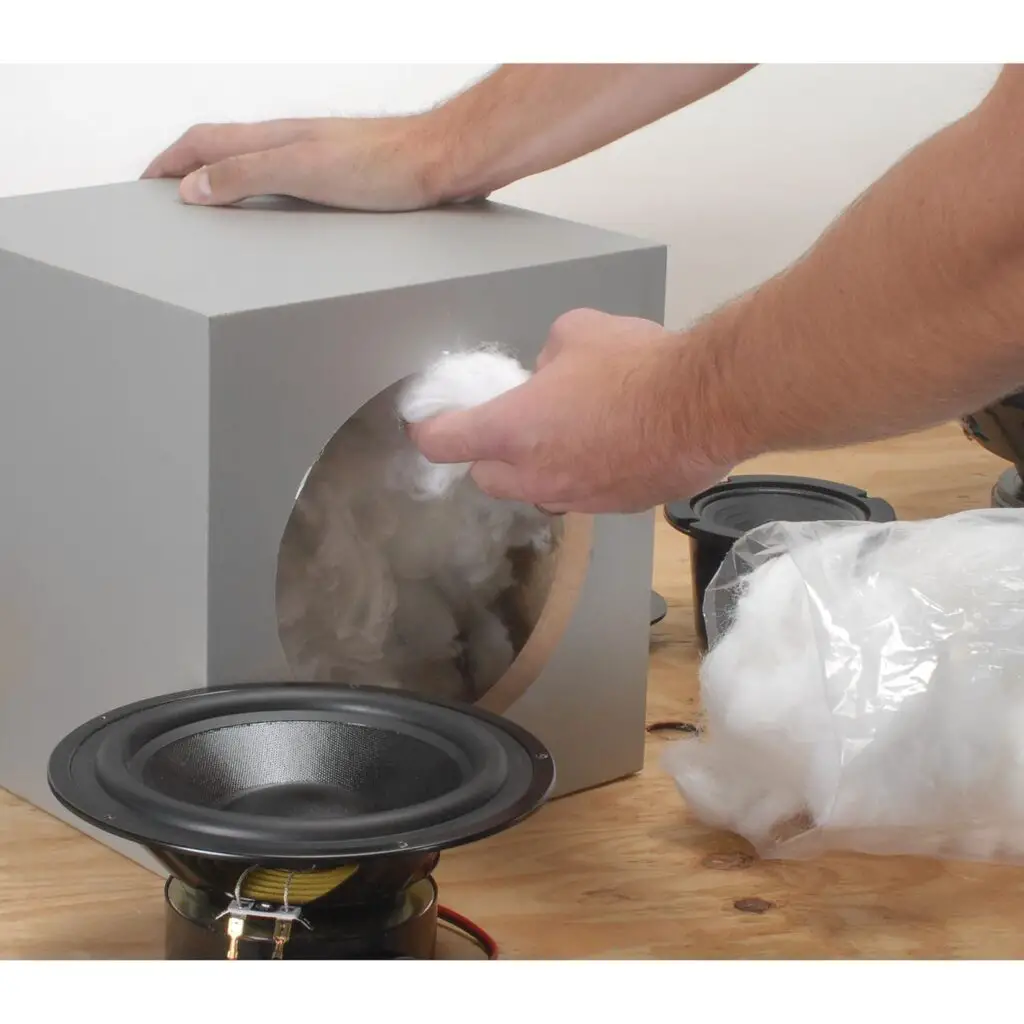
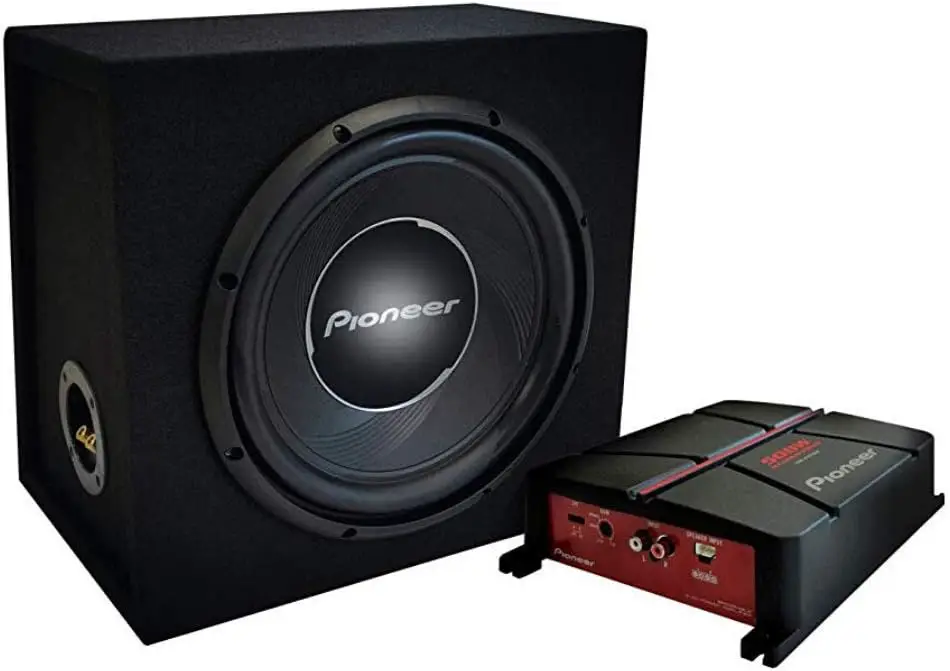
Step 6: Install the Subwoofer
Once the box is completed, you can install your subwoofer according to its manufacturer’s instructions for installation.

Step 7: Test the Box
Once your subwoofer is installed, it is important to test its box to ensure it produces the desired sound quality. Use a subwoofer box tester to examine its frequency response.
Additional Tips:
1. Use only high-grade materials when crafting the box.
2. Make sure the box is airtight.
3. Reinforcing the box requires bracing.
4. Utilize damping material to decrease internal reflections.
5. Make use of a subwoofer enclosure calculator to identify an ideal box volume for your subwoofer.
6. Check your box to make sure it produces the desired sound quality.
Build your own subwoofer box for deep bass can be both exciting and satisfying, by following these steps you can produce an enclosure capable of producing the deep, resonant bass sound you desire.
What is the difference between a sealed box and a ported box?
A sealed box and ported box differ in their ability to affect bass sound quality and size of enclosure; while a sealed box provides airtight protection for your subwoofer. A ported box features holes or vents which permit air flow in and out. Here are some key differences:
1. Sound Quality: A sealed box produces tighter, more accurate and precise bass sounds; in comparison, ported boxes produce louder, boomier bass tones which may or may not be accurate. A sealed box works best for music that requires clear and detailed bass tones like jazz, classical or acoustic while rock, hip hop or EDM prefer powerful deep basses such as sealed boxes can produce.
2. Box Size: When considering box size options for installations with limited space constraints, sealed boxes tend to be smaller and more compact than their ported counterparts, offering more compact solutions while producing louder bass with reduced power requirements. A ported box requires more air space but produces louder, more powerful bass at greater volume levels.
3. Power Efficiency: A sealed box requires more power from an amplifier to produce equal volumes of bass; in contrast, ported boxes require less. While they are more power-efficient overall, ported boxes may require more precise tuning and may only work well with specific subwoofers.
Can I use other materials besides MDF to build a subwoofer box?
Yes, other materials besides MDF are suitable for building subwoofer boxes; each material offers advantages and drawbacks.
1. Plywood: Plywood is a more cost-effective and lighter material than MDF, yet less rigid and susceptible to resonance. However, this makes it suitable for outdoor or marine applications due to being more moisture resistant than MDF – although an uneven surface could make working with it difficult.
2. Particleboard: Particleboard is an inexpensive alternative to MDF or plywood, yet less durable and consistent. Composed of wood particles mixed with resin and compressed into sheets, particleboard can make use easier as it’s light and inexpensive – though may result in poor bass response or shorter lifespan.
3. Fiberglass: This synthetic material allows for custom shapes and sizes, but can be costly and tricky to work with. While fiberglass offers strong and lightweight boxes, building them may require additional tools and skills as well as possibly having health risks due to resin fumes released into the environment from manufacturing process.
4. Standard Wood: Standard wood is an aesthetic material, yet heavy and variable in quality. Although it can create sturdy boxes that look beautiful, temperature and humidity changes may affect it and require additional finishing or painting processes in order to protect from potential damage.
5. Sonotube: Sonotube is a simple cardboard tube subwoofer box design option that is both affordable and limited in design. While sonotube may provide adequate sound quality and performance, it may not offer optimal audio performance or protection from water and fire damage.
6. Polycarbonate: Polycarbonate plastic material makes for stunning subwoofer boxes, but is costly and difficult to cut. While its clear look offers modern appeal, building one may require special tools and techniques due to its thin nature and fragility; additionally it could have potential acoustic drawbacks due to being thin and fragile.
As can be seen, no single material makes an ideal subwoofer box material; when selecting one for your project it should take into account factors like budget, preferences, and goals.
Can I paint my subwoofer box?
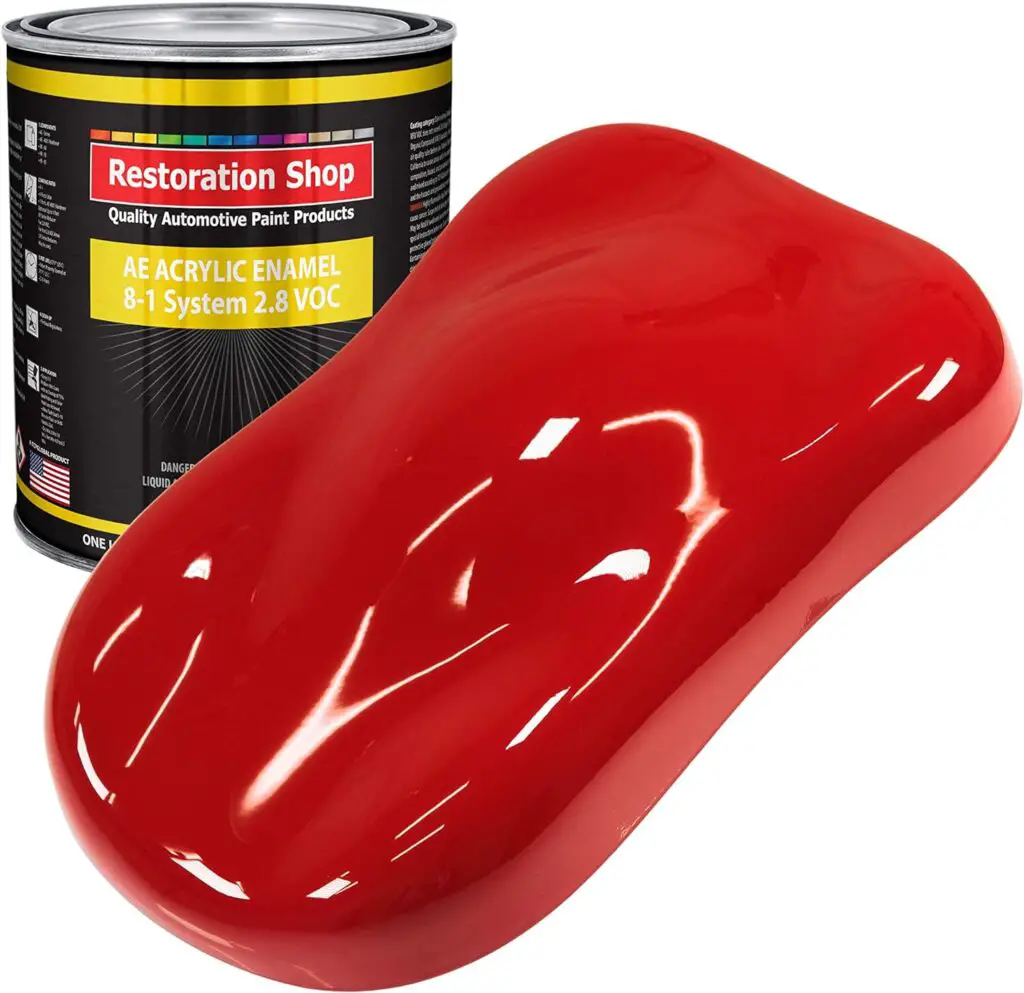
You are able to paint the subwoofer’s box to make it look more attractive and complement the style of the interior of your vehicle. It is important to choose the appropriate paint and use the correct procedures for preparation and application for a durable and pleasing appearance.
Paint Selection:
1. Water-based Paint: Select water-based polyurethane or enamel paint as these paints are not as volatile, and release less fumes than oil-based paints. Beware of paints with solvents since they may harm the subwoofer’s foam surround.
2. Subwoofer Box-Specific Paint: Specialized paint for subwoofers is specifically designed to resist the vibrations and humidity that are associated with subwoofer operation. It offers better adhesion and endurance.
Surface Preparation:
1. Sanding: Make sure to thoroughly sand the surface of the subwoofer box by using fine-grit sandpaper (120-220 grit) to get rid of any imperfections smoothing out the edges and create a an ideal surface for paint to stick.
2. Cleaning: Make sure to thoroughly clean the surface using a mild detergent and water to get rid of any dust or other debris. Let it dry completely before moving on.
Application and Finishing:
1. Primer application: Install a top-quality primer that is specifically designed to be used on subwoofers. This aids in sealing the wood, and creates an even surface for paint to stick to. Apply two coats in thin layers that allow each coat to fully dry.
2. Paint application: Select a spray paint or brush that is of the highest quality to apply. Spray cans give you more control and uniform coverage and are ideal for small details and intricate designs.
3. Multiple coats: Apply multiple thin coats of the paint you want to use and let each coat fully dry prior to applying the following. This gives you a full and even look.
4. Protective Topcoat: You may want to apply a clear-coat sealant or lacquer in order to shield the painted finish from scratch marks, fade and moisture. This will give you a long-lasting as well as a long-lasting, durable finish.

Additional Tips:
1. Do your work in a well-ventilated Space: Avoid painting in closed spaces to reduce the exposure to paint fumes. Utilize a respirator when needed.
2. Protect your surroundings: Cover the car interior or work area with newspapers or drop cloths to stop paint splashes from splattering.
3. Allow for Proper Drying Time: Allow ample time for each coat of sealant and paint to completely dry before making use of the subwoofer or handling device.
Following these guidelines and using premium materials, you can easily paint your subwoofer’s enclosure to create a an individual and fashionable design for your car’s interior.
Why Is Your Car Horn Sound Weak? Find The Truth!