

What does a red light on a motherboard mean?
A red light on the motherboard indicates a problem with your computer hardware, often signaling that one or more components in your system aren’t functioning as intended or are not connecting correctly. Red lights on motherboards are an indicator that something is amiss—overheating, malfunctioning components, power supply problems, or boot failures are just some potential symptoms that this warning light may indicate.
How to fix a Red Light on Motherboard
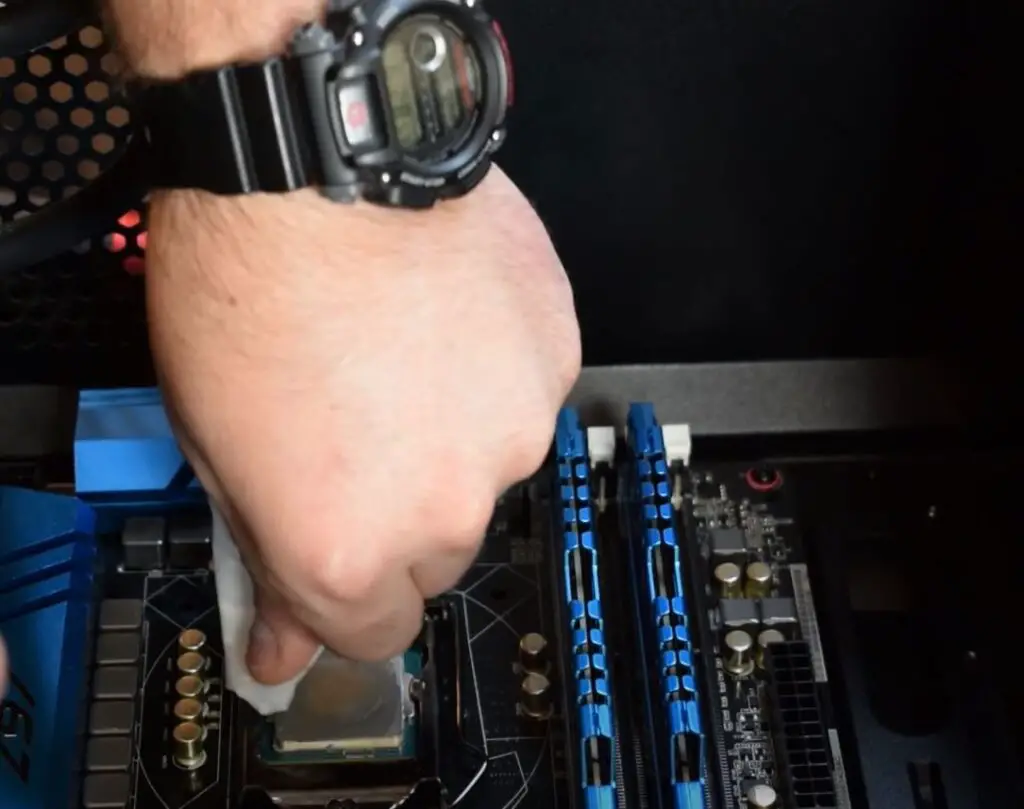
1. Test individual components: If the red light appears near a CPU, RAM, or GPU label, you should try reseating or replacing that component to see if that fixes your issue. For instance, if it’s near your CPU label you could remove it from its socket and check for bent pins or damage before trying installing another CPU in another motherboard or using different CPU in your own board to see if your problem persists. You could also reseat RAM modules into different slots on different motherboards to test RAM/GPU compatibility before trying them yourself to see which works best.
2. Replace damaged hardware: Should any of your hardware components become broken or defective, they must be immediately replaced to maintain optimal functionality. Be sure to purchase compatible hardware that matches with the specifications and requirements of your motherboard; or contact the manufacturer of said component if there are warranties or repair options available.
3. Check for overheating: Overheating may trigger the red LED on your motherboard to illuminate, particularly if it affects either your CPU or GPU. You can check the temperature of your system using either software tools or by directly touching its components, and if your system is overheating try improving airflow and ventilation in your case, cleaning away dust from fans and heatsinks, applying new thermal paste directly onto CPU or GPU and upgrading cooling systems as appropriate.
4. Search for Software and Operating System Errors: In some instances, red lights on motherboards may indicate software or operating system issues that prevent your system from booting properly. You could try scanning your hard drive using tools such as CHKDSK or SFC for errors; repairing or reinstalling your operating system; or using backup/recovery tools to restore it back to an earlier state.
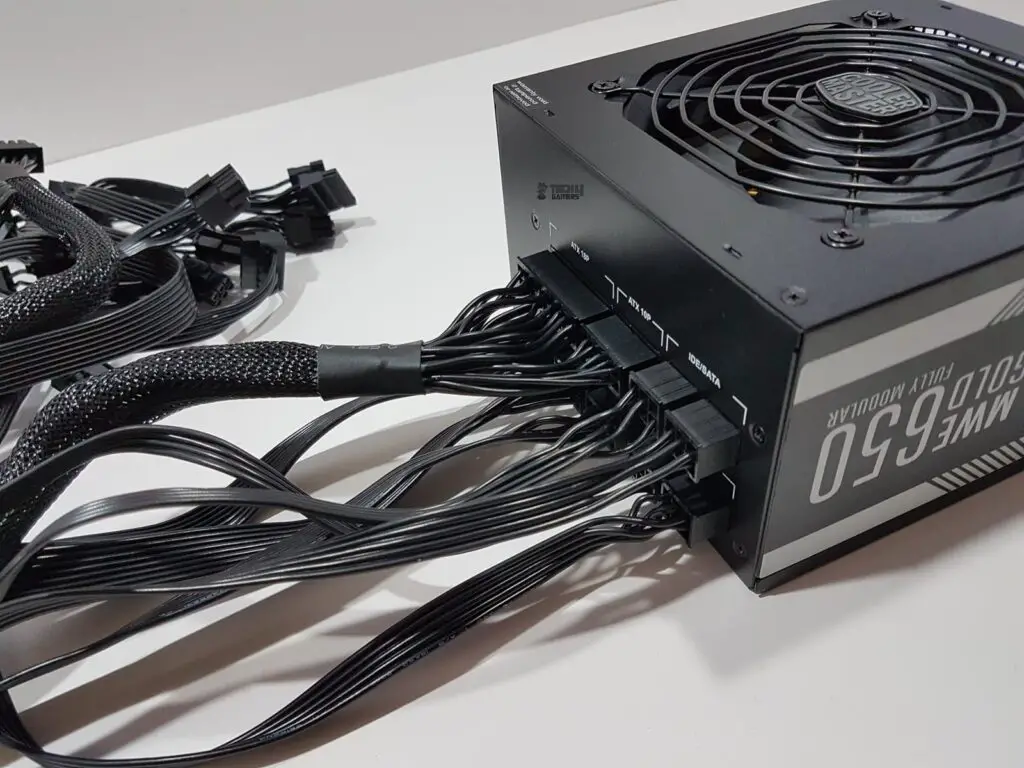
5. Faulty power supply: Your computer’s power supply provides electricity for all of its hardware components. If it is misbehaving or failing to deliver enough power, red lights may appear on your motherboard, and you should test it with either a multimeter or a power supply tester.
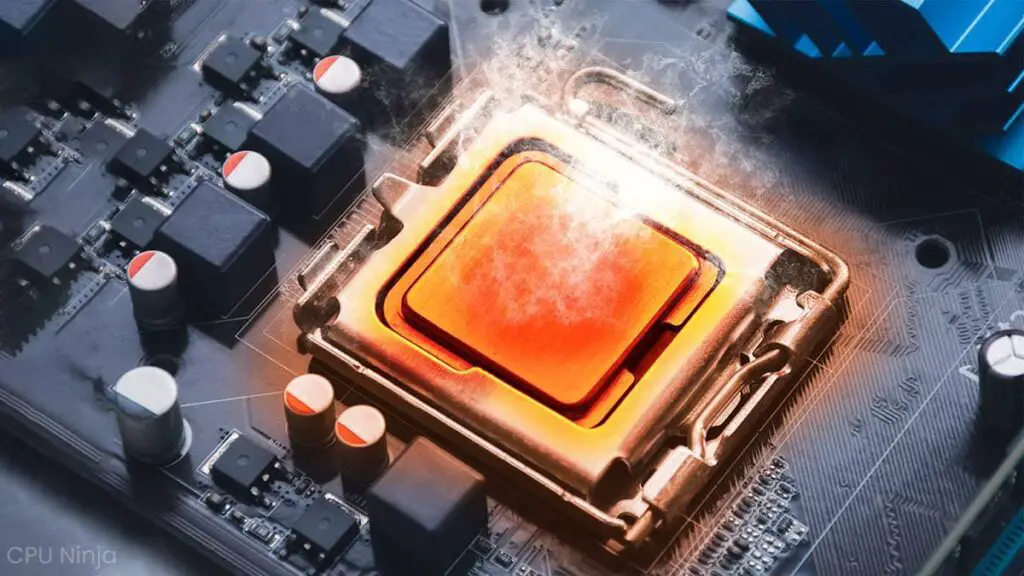
6. Damaged CPU: The central processing unit (CPU) of your computer processes all instructions and data. If it becomes damaged or not seated properly in its socket, a red light could appear on your motherboard. Check for bent or broken pins on the CPU as well as its fan not running at full capacity – both things could contribute to this problem.
7. Improper RAM installation: RAM (Random Access Memory) is the component that temporarily stores data to allow multiple programs to run concurrently on your computer. If any RAM modules do not fit properly into their slots or do not support your motherboard, this could cause red lights on your motherboard to illuminate and prompt reseating or testing with memory diagnostic tools as a solution.
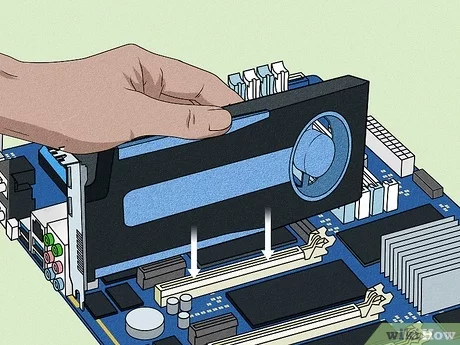
8. Graphics card issue: Check to ensure your graphics card is recognized by your motherboard, is installed properly, seated correctly in its slot, reseated properly or tested using another monitor/cable; otherwise it may need replacing altogether. If it proves faulty then consider upgrading to a new card instead.
9. Boot device error: Check that the hard drive or SSD with your operating system installed is recognized by your motherboard and functioning correctly, then repair or reinstall your OS or use a disk utility tool to detect boot error messages. If one or both boot devices is defective, they should be swapped out immediately with new ones.
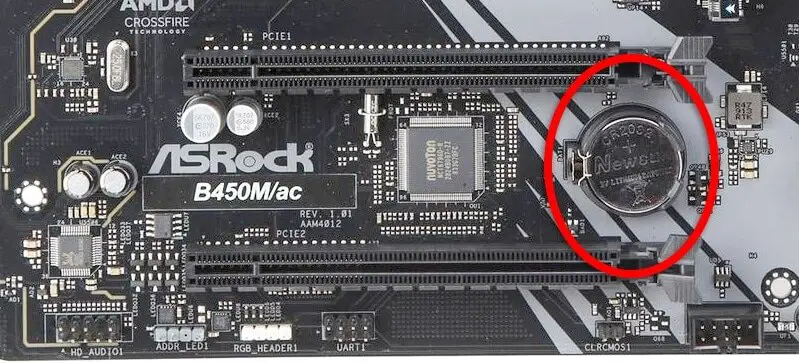
10. Reset the BIOS: Resetting the BIOS of your motherboard is often as easy as plugging in a jumper; or you could remove and then reinsert the CMOS battery for several minutes, which will reset its settings back to their default values and potentially resolve some issues.
11. Consult Your Motherboard’s Manual: Referring to your motherboard’s manual or online documentation will give you more details about the red light’s meaning as well as any diagnostic codes or messages associated with it. Some boards provide labels next to their red lights which indicate whether an error involves CPU, DRAM, VGA, or BOOT components; you could also check if your motherboard features speakers capable of playing tones to indicate problems.
Tips for avoiding a Red Light on Motherboard in the future
1. Keep Your Computer Clean: Keep your computer free of dust accumulation to avoid overheating, short circuiting, and poor performance. A soft brush, can of compressed air or vacuum cleaner is great ways to eliminate dust from accumulating on components – just be sure to turn off and unplug your computer prior to cleaning it!
2. Assure proper cooling and ventilation: Overheating is one of the leading causes of hardware failure and red lights on motherboards, so installing sufficient fans, heatsinks or liquid cooling systems in your computer case is critical for avoiding it. You should monitor temperature of CPU, GPU, other components via software tools or sensors and adjust fan speeds or replace thermal paste accordingly if temperatures become excessively hot.
3. Use a Surge Protector or UPS: Use a surge-protector or an uninterruptible supply (UPS). Power surges, spikes, or outages can damage your power supply and other components on your motherboard causing red lights to illuminate on its display. To safeguard your computer against power fluctuations you can plug it into either a surge protector or UPS; one will block excess voltage from reaching your computer while the latter provides backup power during a power outage.
4. Keep Your BIOS and Drivers Updated: Update your BIOS firmware and device drivers. A red light on a motherboard could be due to software or firmware issues, including outdated or incompatible BIOS or drivers, that you need to download from your motherboard’s or device manufacturer’s website in order to update. Updating these will improve system stability, performance, and compatibility – something only updating can do.
5. Regularly Test Your Hardware Components: Regularly Test Your Hardware Components. An effective way to avoid red light on motherboard is testing all hardware components regularly and replacing any that are faulty with new ones. Testing tools include multimeters, power supply testers, memory diagnostic tools, disk utility tools and benchmarking tools; using such methods allows for early identification and repair of problems before they cause more harm to your machine.
These are just a few strategies to avoid seeing an red light flashing that appears on the motherboard of your computer in the near future. If you follow these guidelines will help you keep your computer’s health in check and performance as well as avoid any issues with your hardware that could cause the red light to flash in your motherboard.
How to update BIOS?
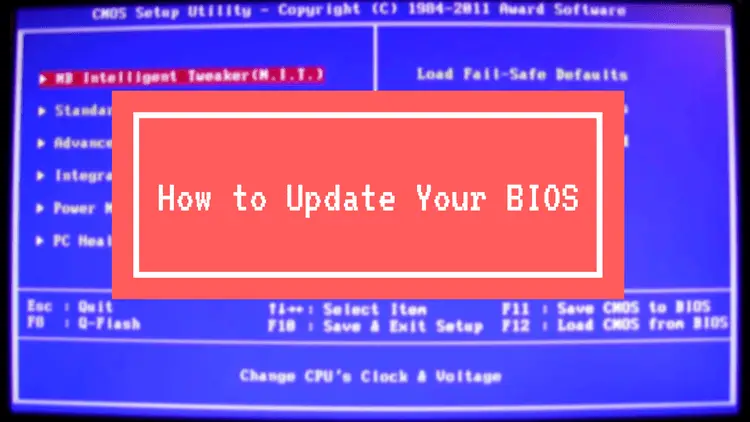
Download the latest BIOS for your motherboard on the manufacturer’s site. Check your BIOS version to compare it to the update available. It can be dangerous to update your BIOS, so follow the instructions and don’t interrupt the process.
There are various methods to update the BIOS depending on your motherboard and computer configuration, here are some popular ones:
1. Update BIOS/UEFI Environment: For optimal results, this method is recommended as it allows for the easiest installation process. Simply boot into BIOS/UEFI settings of your computer and use its built-in update utility to upload a BIOS file from USB flash drive using its update utility.
2. Update via BIOS Flashback: Certain high-end motherboards feature this capability that enables users to update without booting up the computer or having a CPU installed – simply place the BIOS file onto a USB flash drive, plug it into one of several specific ports on the motherboard, press a button and wait for it to finish installing the update.
3. Update Your BIOS Through Windows Software: This method is convenient but riskier, depending on the stability of your Windows system. Some motherboard manufacturers provide software that enables users to update their BIOS from within Windows; simply launch and follow instructions provided. However, if Windows crashes during an update process or freezes up during implementation of BIOS updates on motherboards you could cause irreparable damage.
Hope this guide has provided you with enough knowledge to update your BIOS successfully. 😊
Will Your iPhone Model Run the New iOS 17? Here’s How to Find Out