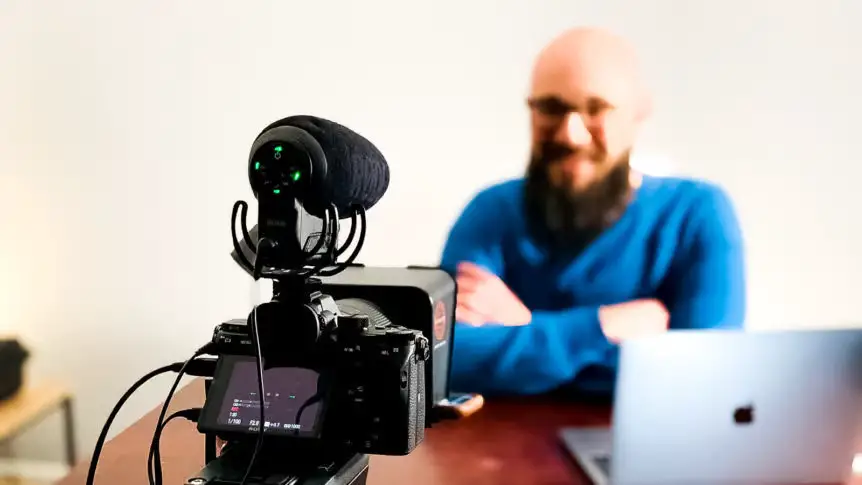
Your Canon CA-240 MiniDV camera’s The Power Supply Cord is a vital component of your camera, and it’s crucial to maintain it in good working order. In time power supply cords may be damaged or frayed which could make the camera to not function properly. If you discover the power supply cable is damaged, it’s crucial to repair it as quickly as you can.
To change your Canon MiniDV camera power supply cord you’ll require these items
1: A new power cable compatible with the camera model you have. You can purchase it from Canon’s website Canon site or any other online retailers.
2: A screwdriver to unlock the battery compartment on your camera.
3: A pair of wire cutters or scissors to cut off the outdated power line.
Here are the steps to follow:
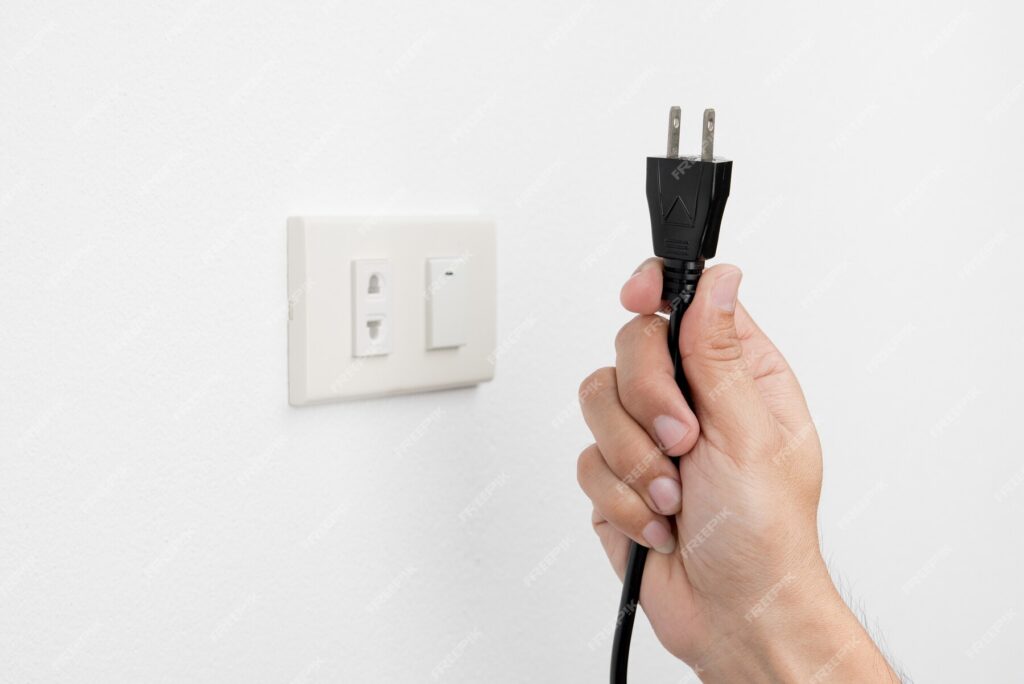
1. Unplug the electrical cord: Find the connector for your power cable at the rear on your camera. It’s usually a small circular connector that has the white plastic covering. Take the connector gently from the camera, taking care that you don’t to cause damage to it.
2. Create for the replacement power cable: Get the brand new cord for power, and examine it for any damages. If you’re satisfied with the condition of the cord, move on to your next stage.
3. Make sure you connect the power cable: Plug the new power supply cord into the power supply connector located on the rear of your camera. Be sure the cord is properly connected to ensure that there are no loose connections.
4. The camera is now powered up: Plug the new power supply cable to an outlet. The Canon CA-240 Mini DV Camera is now fully charged in readiness to use.
Additional Tips
1. Make sure you use only power cords with a valid license: Always use a replacement power supply specifically made for you Canon CA-240 Mini DV Camera. If you use a cord that is not authorized, it could harm your camera, or even void the warranty.
2. Be careful: When unplugging or plugging into the power cord be cautious not to pull the power cord. Instead, hold the connector to prevent any injury to the connector.
3. Get help if you need it: If you encounter any difficulties in the process of replacing your printer do not hesitate to reach out to Canon Customer Support for assistance.
Replacing your Canon CA240 Mini DV Camera’s power supply Cord is an easy job that can be accomplished in just a few minutes. With these simple instructions and steps to make sure that your camera is fully charged and fully prepared to record those memorable moments for the years to be.
How to Keep Your Power Cords Safe and Sound: Essential Tips for Maintenance and Longevity
Here are some original and useful suggestions for keeping and prolonging the life that power cords last:
1. Utilize a cable protection: A cable protector is a tough sleeve that can be put onto power cables to keep them safe from wear and wear and tear. Cable protectors are especially beneficial for power cords regularly exposed to harsh conditions, such as those that are used in industrial environments or those that are buried through carpets or on rugs.
2. Do not use extension cords: Extension cords put more tension on power supply cords and may increase the risk of fire. If you are required to make use of extensions, you must make sure it’s rated for the voltage and amperage of the gadgets you are connecting to it.
3. Make use of a surge protection: A surge protector will help to safeguard the devices you use from surges of power which can cause damage to the power supply cables. Surge protectors are crucial for gadgets that have been linked to sensitive or expensive equipment.
4. Be cautious while disconnecting your power cables: Always disconnect power cords by grabbing the connector instead of the cord. The cord’s pull can harm the wires within and reduce the life of the cord.
5. Check power cords frequently for indications to damages: If you notice any cracks, fraying, or other damages, replace the cord as soon as you notice it.
How to clean my Canon CA-240 Mini DV camera lens?
To remove dirt from your Canon CA-240 MiniDV camera lens, you’ll require the following items:
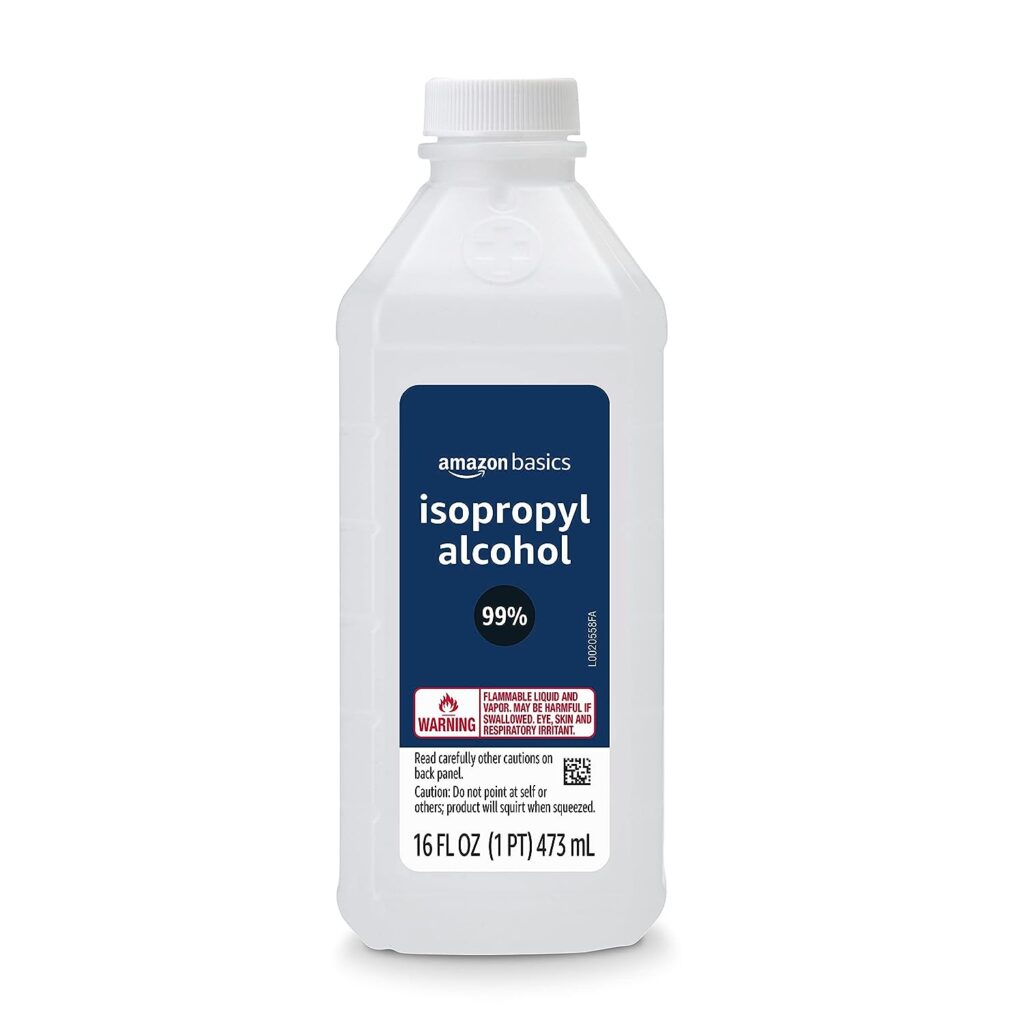
1: A solution for cleaning the lens or 70 percent to 80% dilute alcohol, such as isopropyl alcohol or ethanol.
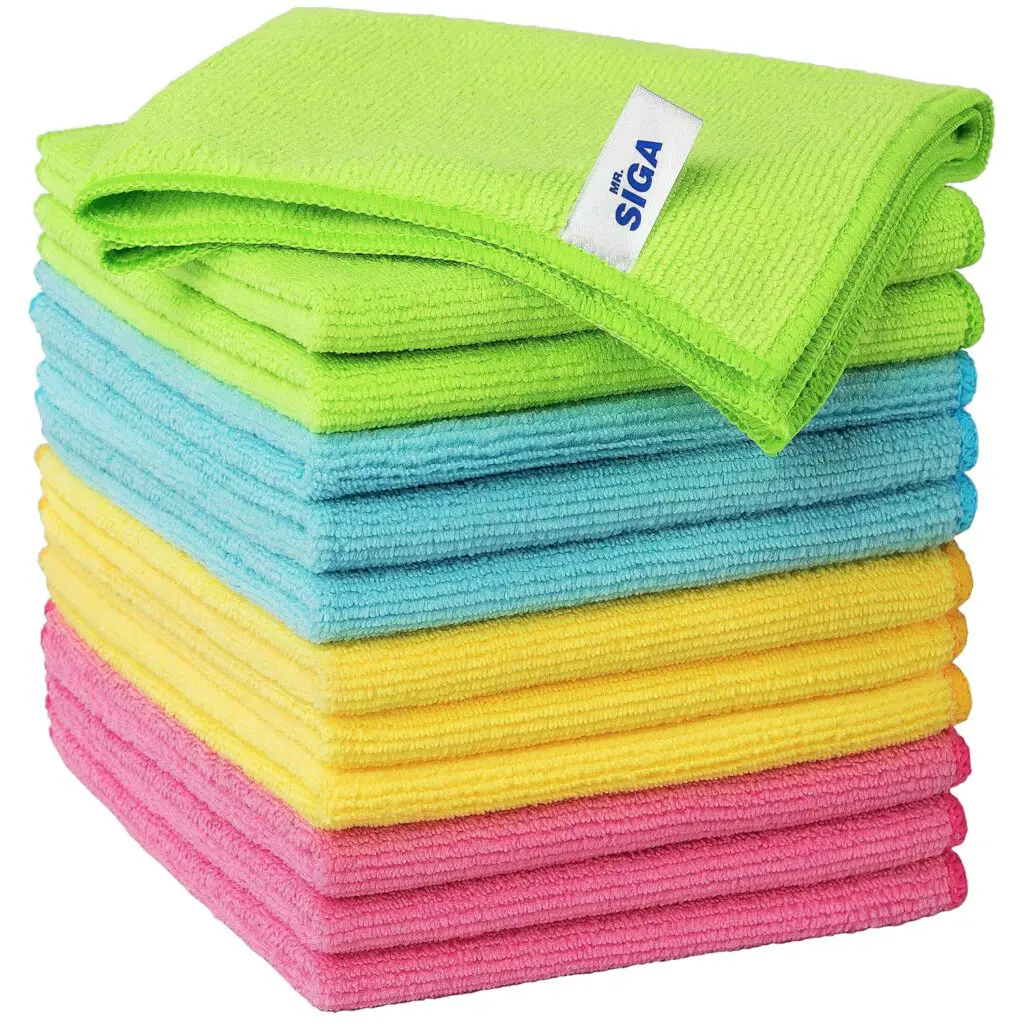
2: A lens tissue, or a microfiber or lint-free fabric
3: A blower or soft brush to get rid of dirt and dust
Below are some steps that you must be followed:
1: Switch off your camera and take out the battery prior to cleaning.
2: Make use of a blower or soft brush to gently remove dirt or dust off the lens’s surface. Don’t use canned or compressed air as they can harm the lens coating or leave a residue.
3: Use a few drops of cleaning solution for your lens or diluted alcohol to a lens cloth or cloth. Don’t apply alcohol or the solution directly onto the lens since it could leach into the camera’s body, causing damage.
4: In a circular motion, gentle wipe the lens’s surface starting from the center and moving towards the outside. Don’t press or rub too forcefully, as this could scratch the lens surface or create streaks.
5: Repeat the process as needed to ensure that the lens remains dry and clean.
CA-240 Mini DV Camera Not Recording: Solutions and Troubleshooting
1. Ensure Proper Cassette Loading: If you’re using MiniDV tapes ensure that they are loaded properly. An incorrect loading or damaged tape can stop cameras from recording.
2. Test Different Tapes: Try other Mini DV tapes in order to determine if the problem is due to a particular tape. Sometimes, tapes are damaged or fail to function properly.
3. Reset the Camera: Perform the factory reset of your camera in order to reset all settings back to their default settings. This will help to eliminate any software issues that could be causing problems with recording. Consult the user’s manual for directions on ways to set the camera back.
4. Test in Well-Lit Conditions: Sometimes, lighting conditions could affect the camera’s capacity to record. Make sure to record in well-lit areas to make sure the issue isn’t caused by lighting conditions.
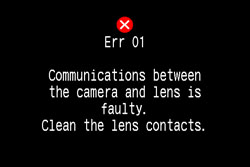
5. Check for Error Messages: If your camera shows error messages while trying to record, keep track of the messages. These messages can help you determine the particular problem.
6. Test using a different device to capture: If you can you can connect the camera to an electronic device or a recording device to determine whether it is able to be recognized and utilized as a video source. This will help you determine if the issue lies related to the camera or recording device.
7. Explore Warranty or Repair Options: Verify if your California-240 Mini DV Camera is still covered by warranty. If it’s under warranty, contact the manufacturer or retailer who sold it to inquire about repairs or replacements under warranty. If the camera isn’t covered by warranty, you might need to look into professional repair of your camera.
Be aware that diagnosing and fixing cameras can be difficult If you’re uncertain about completing one of these steps by yourself, you should get help from a professional. They will be able to provide deeper analysis of the issue and resolve any issues with your hardware or software which could be causing the issue.
How To Use A Mini DV Player On A Canon CA920 Camera?